Spindle
Wrench for a Sherline lathe
I
have found that Sherline’s Tommy Bars are too short,
too thin and too bendable to be useful for some functions. In particular I have a lot of problems using
one of them on the lathe spindle to tighten or remove a chuck. I made some stronger, longer and bigger tommy
bars (see separate article) but they were
still not ideal for the spindle. So, I
made a wrench that fits closely over the spindle, is very strong, and easy to
hold. (The wrench works on the mill as well.)
Figure
1 shows the wrench I made.
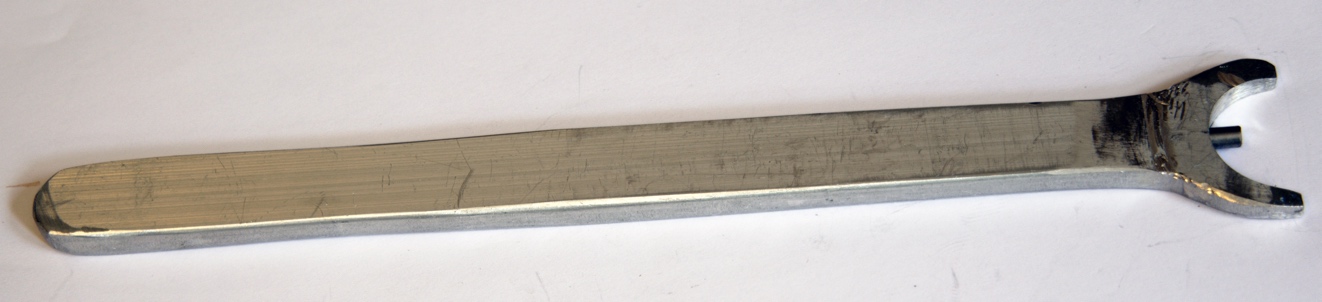
Figure 1: spindle
wrench
I
cut the wrench out of a piece of ¼ inch 6061 aluminum with a band saw. I cut the half circle at the left with a hole
saw before cutting out the rest of the wrench.
The hole saw was 1 1/8 inch in diameter, which is a little larger than the
diameter of the spindle on the Sherline lathe. In my
case, I made a 9” long wrench but, of course, you can make one of any length
that is best for you.
I
worked all of the edges of the wrench with the sanding belt on the back side of
a belt sander to remove any sharp edges. (I.e. the sanding belt without a
backing, so it is flexible and will conform to curves.)
I
then drilled a 4mm hole 1 ¼ inches deep in the middle of the circle. The hole was centered in the ¼ inch thick
aluminum. I then drilled a # 36 hole
perpendicular to the 4mm hole and tapped it for a 6-32 set screw. See figure 2.
I put a piece of 4mm steel rod in the hole such that about ¼” stuck out
of the end of the hole and put a set screw into the perpendicular hole to keep
the rod from sliding out.
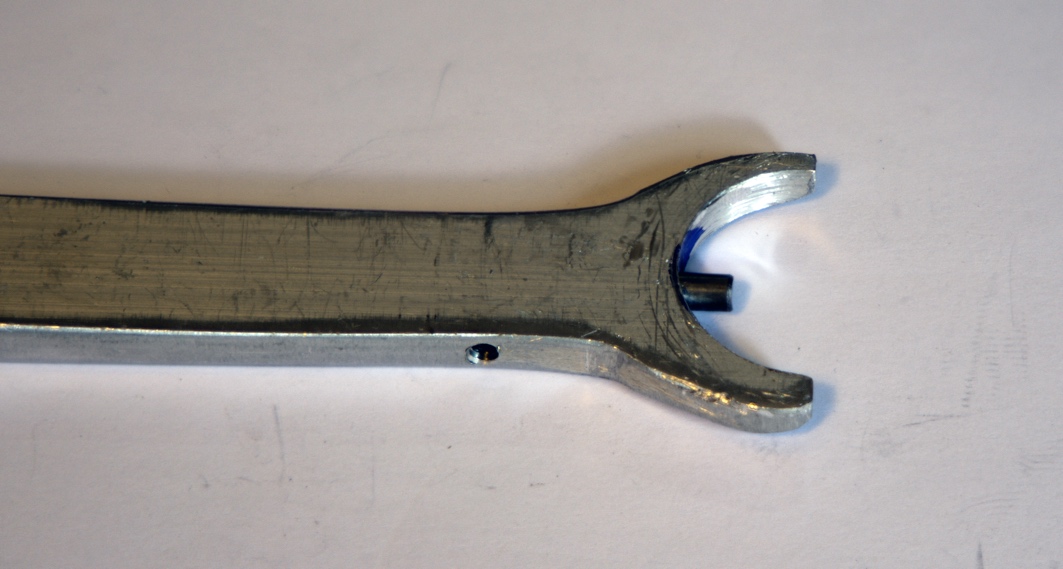
Figure 2: set
screw hole
One
feature of the Sherline spindle is that the Tommy Bar
hole in it is not centered in the ¼” wide projection of the spindle from the
headstock body. The hole is a bit closer
to the headstock body. To deal with this
I put a taper into the end of the wrench by sanding one side of the end of the
wrench so that the pin would easily go into the hole in the spindle. See figure 3.
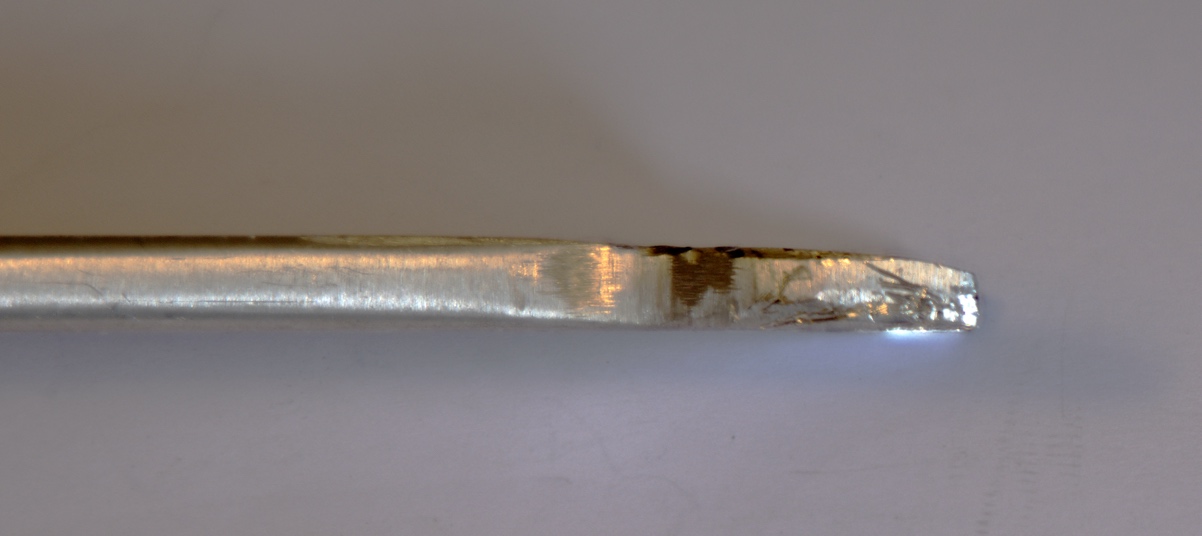
Figure 3: taper at
the end of the wrench
Copyright
Ó 2024 Scott
Bradner
2024-09-05